One of the most common reasons IDrive Pro users contact our call center is to ask about their account quota – your quota is the maximum amount of data allowed to be stored in your account.
If you subscribe to IDrive Pro Personal (150GB) or the IDrive Pro Family Pack (500GB) you have a “hard” limit on your quota. This means that if you reach your limit you’ll receive a message telling you your account is full and no further backups will occur.
If you are an IDrive Pro Business customer (50GB to 1000GB) you have a “soft” limit on your quota. This means that you will be able to continue backing up new files once you reach your quota but will be charged a fee of $0.50/GB/month over that quota.
As your IDrive account ages you can expect it to slowly grow. It will be backing up your new files, moved files, renamed files, date-stamped files and more. Although you are protecting yourself you might be backing up more than you need to. Imagine you download a 500MB movie to your desktop and the next day watch the clip and delete the file. Overnight IDrive would have backed up the file and now will keep it forever unless otherwise deleted.
Here is our advise for managing your IDrive account!
Sync your IDrive account
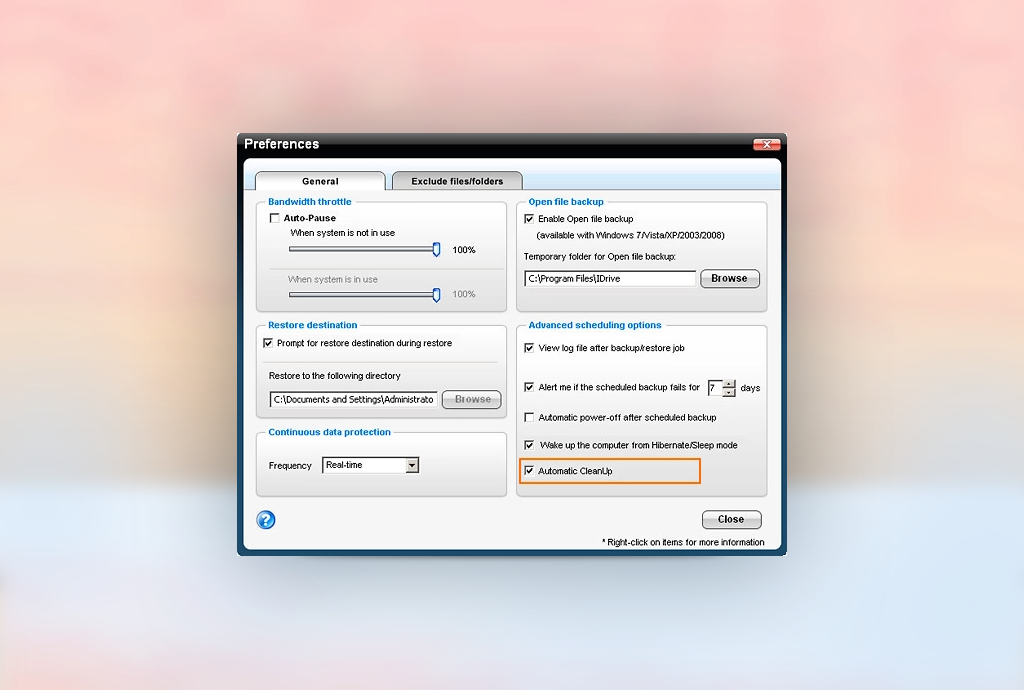
Performing a Sync removes files you have since deleted, moved or renamed on your computer from your IDrive account – in essence it gets rid of the “excess” data. You can complete a Sync manually by opening IDrive on your computer, go to the Restore tab and select which computer or folder(s) on the account you’d like to Sync. IDrive will then scan your Backup Set (the folders you’ve selected for backup) and compare it with the backup currently on IDrive and present you with a list of files that will be removed:

You can also set up an Automatic Sync! With Automatic Sync enabled IDrive will run a Sync operation after each scheduled daily backup. Any files no longer present on your computer will be removed from your IDrive account after 30 days. Should more than 5% of your total number of files be “out-of-sync” IDrive will cancel the operation as a protective measure in order to insure IDrive isn’t deleting files on accident!

Delete old files from IDrive
Deleting old folders and files from your IDrive is account is very easy! Simply open IDrive on your computer and in the Restore window place a checkmark in the box next to each folder and/or file you wish to remove then click the Delete button in the toolbar. Once you delete files from your IDrive account they are placed into the Trash Bin where they will remain for 10 days before being removed from our data-center completely. Note: files in the Trash Bin do not count against your quota!
Delete an old computer’s backup from your account
In order to completely remove a machine from your IDrive account first you must delete all the files and folders associated with the computer, then you will need to empty the Trash Bin of that computer – use a right click. Once all the files have been removed and the Trash Bin is empty you can right click on the computer you’d like to remove and select “Delete Machine.”
Update your Backup Set
If your account maxed out or went over quota due to too much being backed up, don’t forget to update your Backup Set after deleting the offending data or else you may find it being backed up again! Open IDrive on your computer – or use the Web Management console in your customer portal on IDrive.com – front and center is the Backup Set, uncheck and folders/files you no longer wish to be included.
Get more GBs!
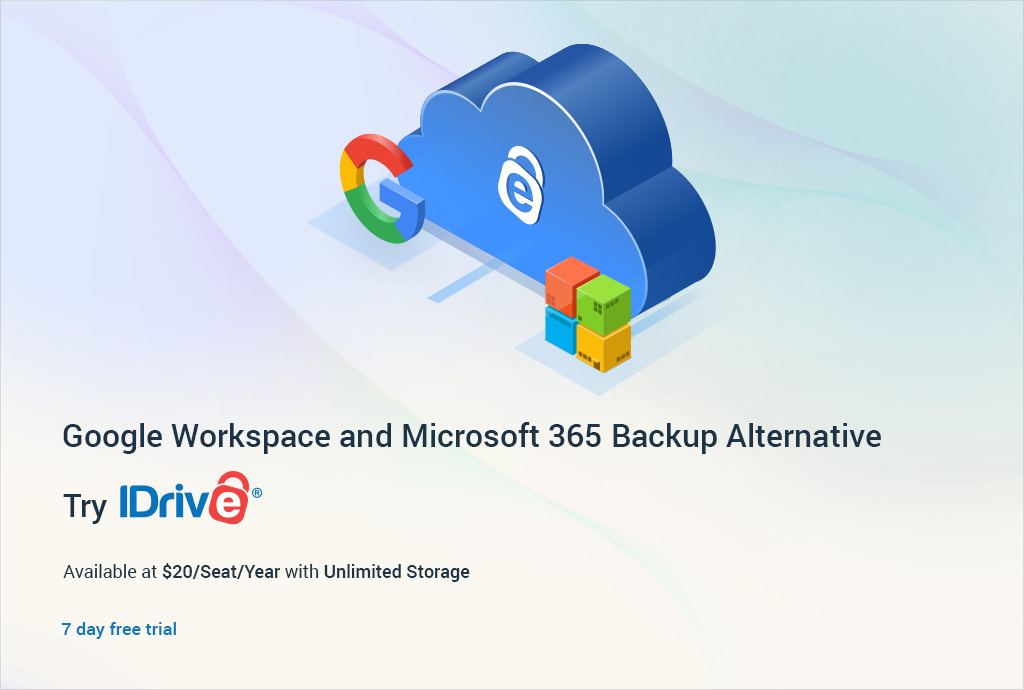
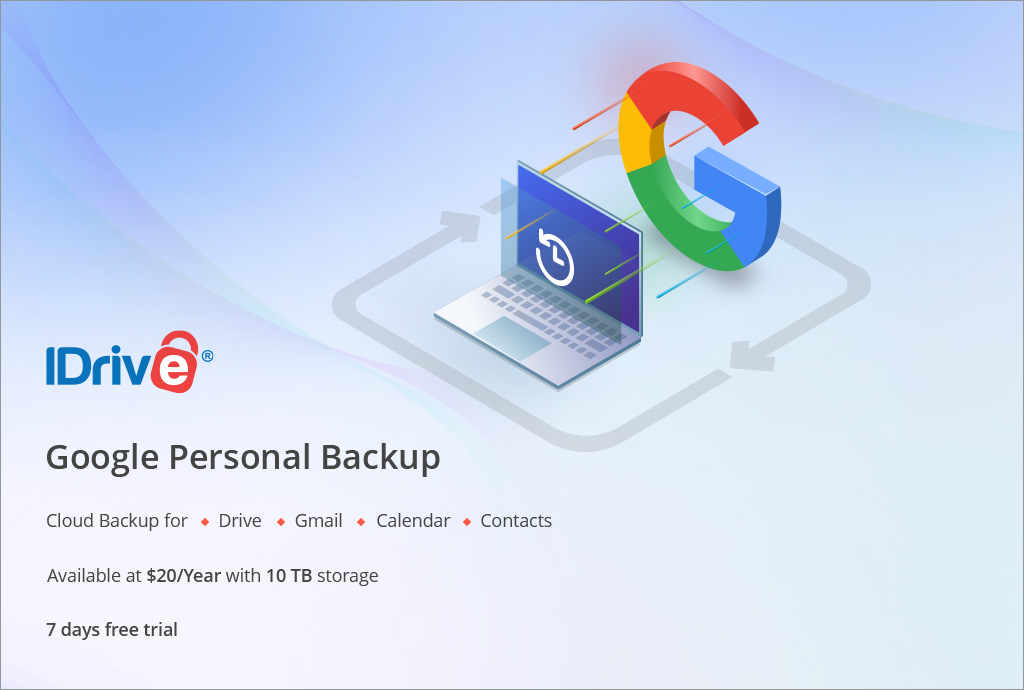
Filled your account? Perhaps you need more space! Log in to your account on IDrive.com, select Upgrade Account at the top and select your new plan. Upgrade from IDrive Pro Personal to the IDrive Pro Family Pack and get 350GB more storage space for a mere $10/month extra and the ability to backup four other computers to the same account.
Ask IDrive!
Get your cloud questions answered! Send your question to publicrelations@idrive.com
Have a great Monday – S. Gold, Business Dev. Manager